The following post comes to us courtesy of Mugen aficionado Jerimiah Styles! In this post he shares his experience cleaning up his new-to-him Mugen header. Many thanks to him for another contribution of his time and insight!
== ==
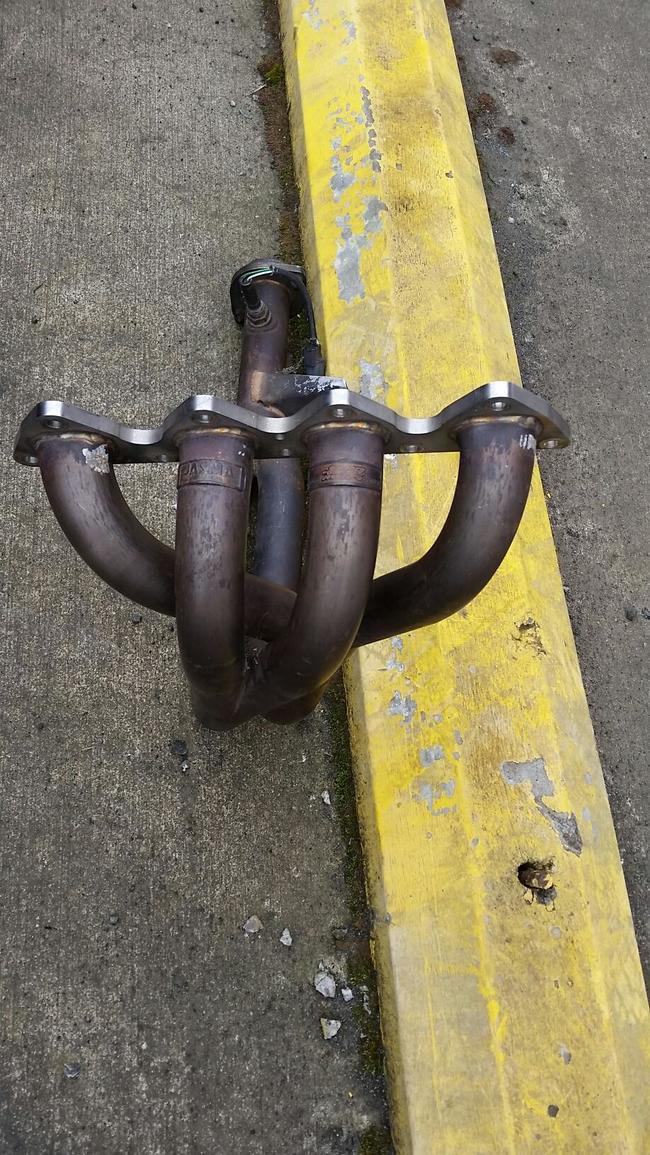
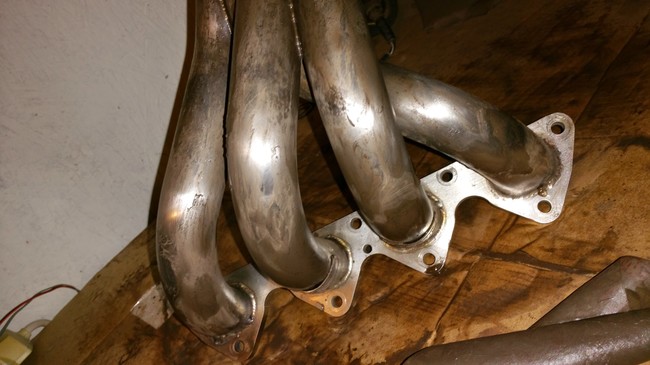
I recently picked up a pre-owned Mugen B16A 4-2-1 header from a buddy of mine. He'd offered this header to me many times, but I had until recently declined, as the header needed a little bit of work (cleaning and welding a crack on the bracket). I had always been intimidated to attempt such a project until I received this header. I did a bit of research and decided I was going to sand it up and attempt to polish it. However, I didn't want a high polished "chrome" look, I opted for the original polished raw metal route, the way this beauty came from Mugen.
Here's how it looked when I first picked it up.
One of my good friends is a woodworker and suggested that I try synthetic sand paper. It lasts much longer than conventional sand paper and is easier to use. Unfortunately the finest grit I could find it was 350, but this is needed to really get all of the oxidization off. As you can see just seconds into wet sanding and I was already seeing results. (below)
For this project I wet sanded the entire time. Here is with the 350 grit. Make sure the residue (seen pictured) is constantly wiped down with a rag and kept clean. This not only allows you to see your results, and where you need to sand, but also assures that you aren't damaging the header by getting any pieces of dirt in there that could potentially scratch the surface of the header. (below)
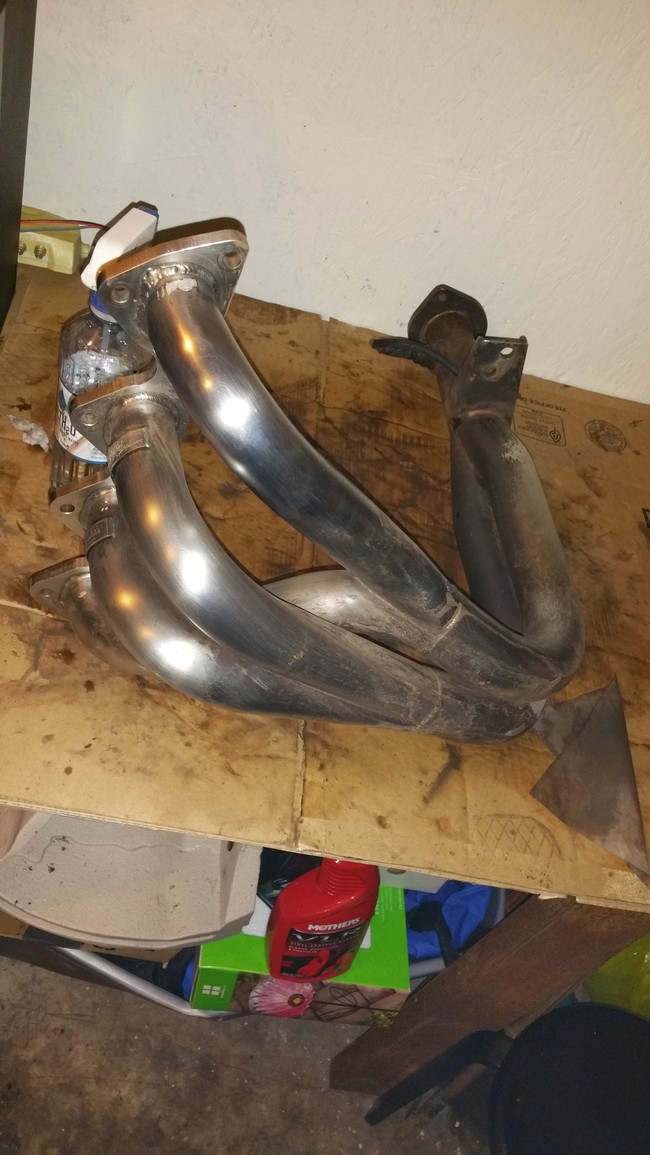
I used a small spray bottle to keep the sand paper wet, and also to keep the header clean throughout the process. This is about halfway through. You can take each step as far as you would like per your own personal preference. (below)
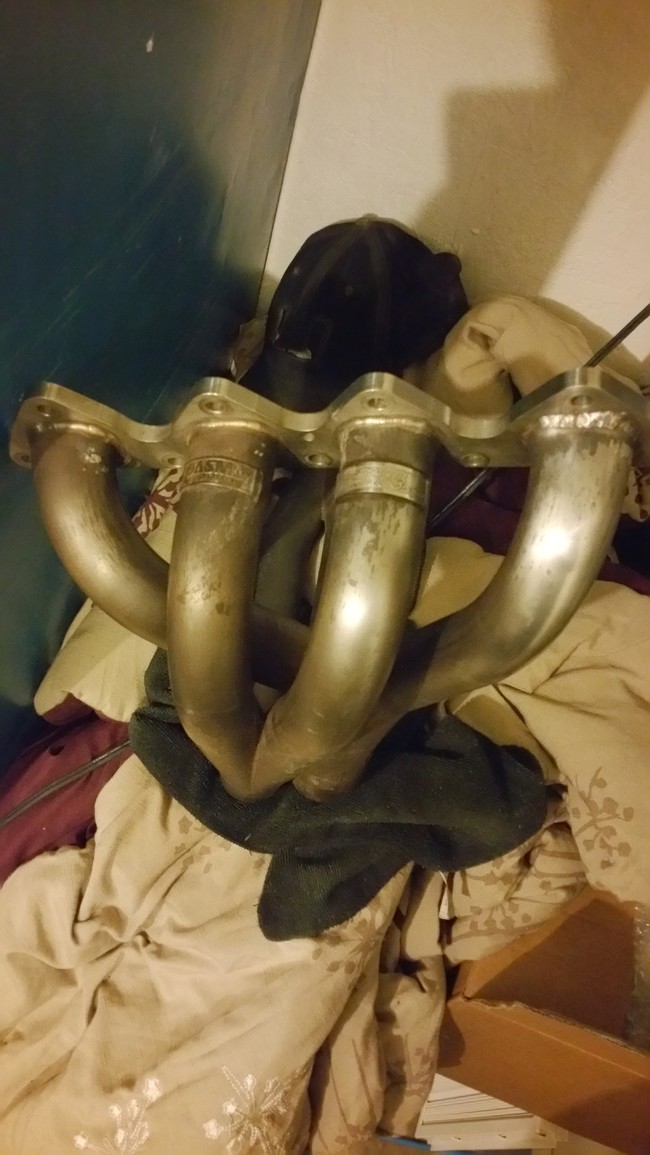
Next I switched to 1500 fine grit, again repeating the same process as above getting progressively finer with 2000, grit, and then 3000. This was as far as I wanted to take it. Again if you'd like a higher polished header go for it, and keep on sanding. After you're happy with the luster that you have achieved, you can take a metal polishing compound and add as much gleam as you'd like. (below)
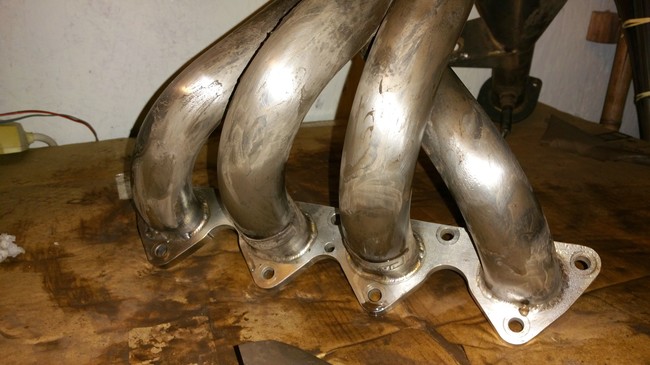
Here is after sanding. Again repeating the steps and taking each as far as you'd like, 350 fine grit, 1500, 2000, 3000 Before doing any kind of polishing.(below)
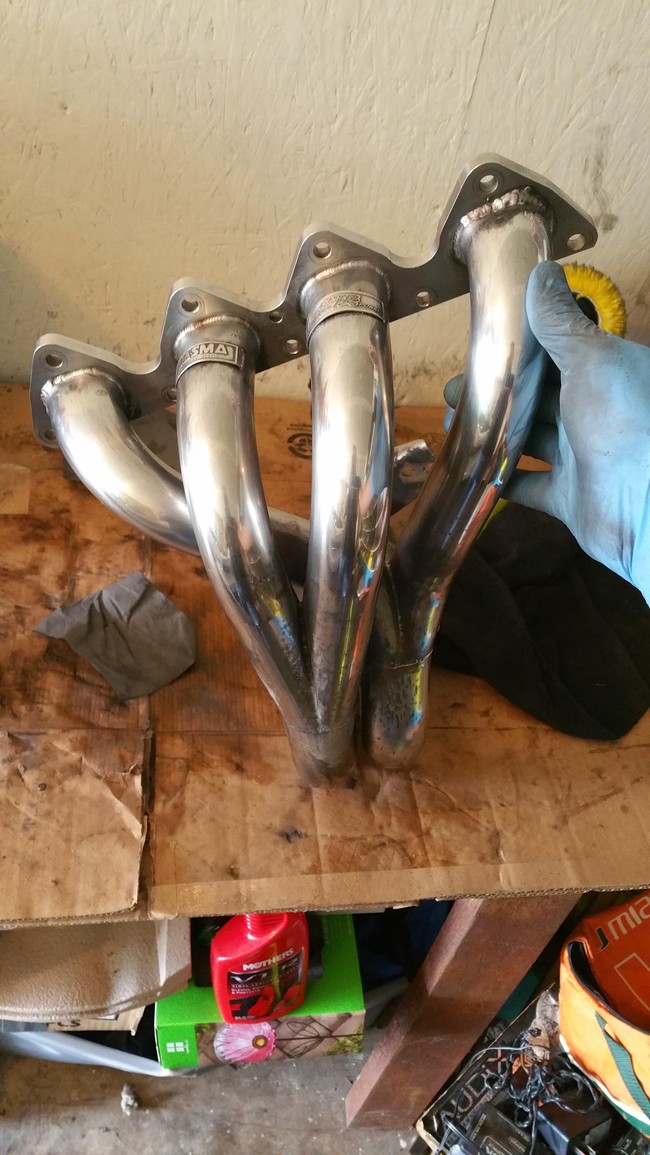
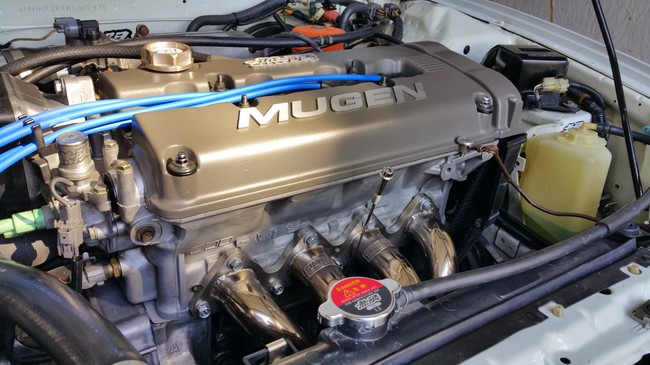
A critical step in making sure that your header turns out beautiful is to wipe it down with 99% rubbing alcohol: after polishing, after installation, and before starting your engine. This will remove any remaining polishing materials and oil from the fingers of whom ever installed it. As the header ages it takes on a gorgeous golden hue that adds a touch of Mugen class to any engine bay.